Archive for May, 2016
another Pioneer PL-L1000 r&r (complex)
Time for another Pioneer PL-L1000 repair!
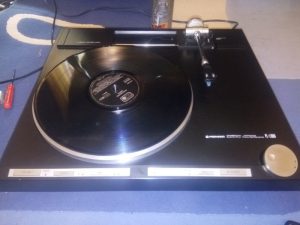
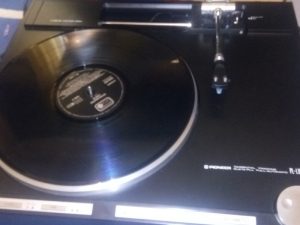
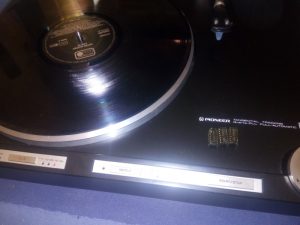
One day a customer/friend came to us and brought another PL-L1000 (non-functional unit):
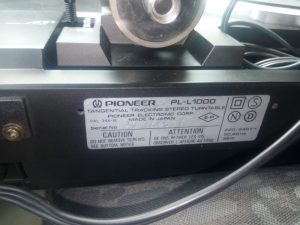
The deck looked ok, minor scratches, no dents but it was not working properly. I noticed that this was not one of the military versions as it had only 2 voltage selector 220v/240v, so the power transformer must be ok, you have to adjust the selector to match the line voltage in the location you are using the unit, and if the deck is set to 120v AC(japan)and you plug it to 220v AC (europe), damage may occur but this was not the case, in fact the deck powered on just fine!
All repairs requires the service manual, but experience is also needed, testing the main functions of the deck showed that the main motor is working properly, the size of the disk cannot be selected, and the biggest problem was that the linear motor was not working when “start” was depressed, lead in sequence not performed. The lift motor was not operational though the display changed state when the lift button was depressed.
So we got busy!
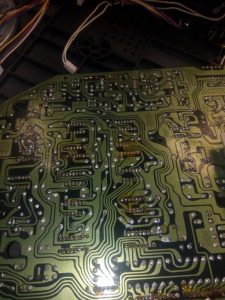
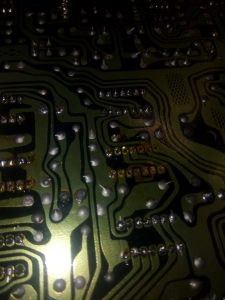
First step was to check the mainboard and power supply for cracked solder joints and I also checked the voltages delivered, everything looked very good for a 40 years old turntable, the boards were totally resoldered just to be sure we don’t have any kind of contact/soldering issues.
The circuit is double sided, removing the components can be very challenging as the mainboard is very sensitive to heat, it may be due to it’s age but for sure you have to be moderate with the soldering tools, you don’t want to damage it!
The mechanical parts were cleaned, checked and adjusted to a “ready for testing” state, somebody did a big mess before me, adjusting all that you can imagine, including all variable resistors. A nice point to start is to have a picture of a functional unit to see if the variable resistors are way out of range, these decks are “made in japan” products, having constant production quality, automatically all adjustments must be in the same range, that is one proven theory that comes from experience, it may look like a hit&miss procedure but any kind of information must be considered, remember that there’s little to nonexistent information on the internet about repairing these beautiful decks – Pioneer Linear Tracking series.
It is always a good idea to take pictures/make your own schematics of the original setup, even if you know it’s not good, sometimes the wires are directly soldered on boards and over the years they become brittle and can come apart when moving the boards out of the way for repairs, these are old sleeping monsters with a little bit of life left in them!
Unfortunately none of these steps helped in improving the actual state of the turntable but we managed to isolate the problem, it’s the logic control that we have to restore, that’s why this is one beautiful nice repair project, isn’t it!
The logic control is made using discrete c-mos components, good news is that a lot of the integrated circuits are still available on-line at very low prices, we won’t find the original Toshiba “signature” chips but any equivalent chip will do it’s job very well, bringing life back in this high-tech beauty of the late 70’s!
I decided to solve the “disc size” mystery button, as mentioned earlier in this post, pressing the size button must switch between 7” 10” 12” disc size and our deck did nothing, only 12” size option was on all the time.
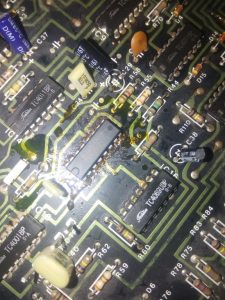
According to service manual, the disc size function is up to IC 15 wich is TC4027 (CD4027) which is a flip-flop circuit. For more information you can search the web, there are a lot of documents and applications for this C-MOS circuit. Keep in mind that these are ESD sensitive circuits, you have to pay attention when you work on them.
After replacing the IC we had a functional disc size display!
The repair process is based on test points, checking the voltages (given in the service manual) while testing the functions it is mandatory.
Further analysis lead to replacing IC10 & IC 8 (lead in FF stage) and after that the turntable was alive, the logic control worked perfect!
One more thing was necessary, cleaning the cue(lift) motor and replacing the belt, the main motor (SHR-stable hanging rotor) received some oil also:
Now the turntable is an old working beast, ready for a new audiophile experience.
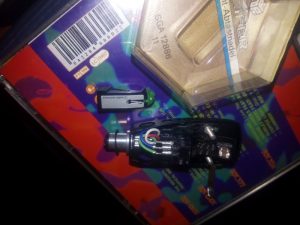
Here is the cartridge for it(original cartridge was Pioneer PC600 but it was missing), a nice LOMC (moving coil) cartridge, Audio Technica AT312EP, a sweet setup:
Thanks for reading, more r&r projects will be available soon, stay tuned!
