Archive for the ‘HI-FI Audio Projects’ Category
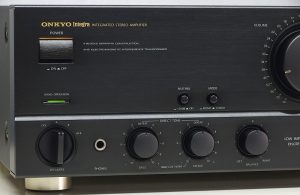
ONKYO integra A-8760 hi-fi amplifier r&r project
This is a nice new r&r project of a high quality power amplifier (made in japan) ONKYO integra A-8760, a beast from the late 80’s !
There is a whole story about how I got this amplifier, it was offered as a gift, non-working unit, spare parts only, you name it. One thing was for sure, it has 14kg and as far as I could see it didn’t have any noticeable plastic parts, it may sound funny but these are the best things you should consider on an amplifier(or other product if you ask me), you don’t have to be an audiophile or whatever, just take your weighing device with you and that is it! 🙂
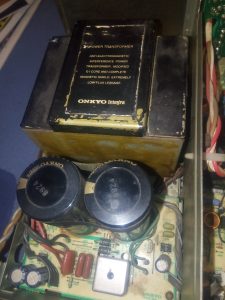
“Under the bonnet” I found a huge linear power source with a nicely shielded transformer and two big caps, that is the heart of any amplifier and it matters a lot, it is like the engine of a car, the bigger it is, the better it sounds 🙂
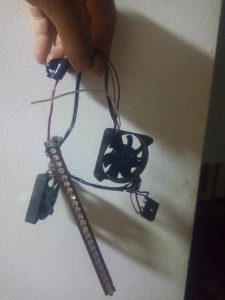
The tuning age is at it’s best, just look what a nice upgrade I found inside this amp, a led bar and a couple of fans, they hit the dumpster in no time!
The amp powered on but there was no output from speaker terminals, I noticed some burned electronic components, let the fun begin! Take a look at the main fuse that I found, can’t be bigger than this :
As you are already familiar with analogicsound’s projects this project also required the service manual, it was absolutely necessary. Of course that huge power source was ok(even if inappropriate fuses were used) , in fact the amplifier powered on just fine, the problem was not in there. If you replace a fuse with a good one and it blows again you should never install a bigger one(or a golden one 🙂 ), that is just stupid and can add extensive damage to any device, you just have to repair that device or use the dumpster.
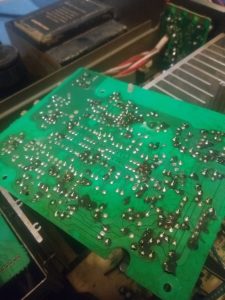
I must say that this amp suffers from cracked solder issue, a lot of devices from the 80’s and 90’s suffer from this, age is age and bad solder issue is indeed a huge source of problems, I decided to resolder all components, the preamplifier was badly affected but other modules had problems also.
After this time consuming job there were no big improvements, almost all transistors from the final stage were shot, a lot of power resistors were damaged also, most of them read high impedance, further analysis were necessary. A big problem is that original transistors (made by Sanken) in Japan are hard to find, of course cheap chinese components are always on the market but for this amp I wanted the best transistors “made in japan”, no budget repair!
This is gold(thank you @brain 😉 )!
One thing that I love about this amplifier is that is quite serviceable. It has separate modules and a lot of space between components, no SMD, high quality capacitors and high quality japanese design from the golden age of hi-fi, it is a pleasure to work on it!
Here are the final stage transistors:
All final stage transistors were replaced (as pairs) and all related components were checked and replaced if necessary, biggest problem were out of range components, like resistors who suffer a lot when a short circuit is happening, this resistor supposed to be 2.2kohm and now it reads almost 3kohm:
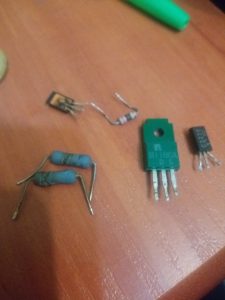
Various replaced components:
After all these steps the amplifier was ready for tests, DC voltage protection was checked and idle current was adjusted within specs.
Then the speakers were connected, normal operation and all functions&inputs were tested, the repair was a success!
Thanks for reading, more r&r projects will be available soon, the project will be advertised on facebook, thanks to all who liked this !
another Pioneer PL-L1000 r&r (complex)
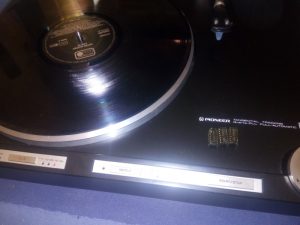
Time for another Pioneer PL-L1000 repair!
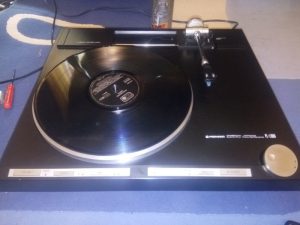
One day a customer/friend came to us and brought another PL-L1000 (non-functional unit):
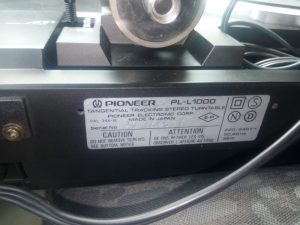
The deck looked ok, minor scratches, no dents but it was not working properly. I noticed that this was not one of the military versions as it had only 2 voltage selector 220v/240v, so the power transformer must be ok, you have to adjust the selector to match the line voltage in the location you are using the unit, and if the deck is set to 120v AC(japan)and you plug it to 220v AC (europe), damage may occur but this was not the case, in fact the deck powered on just fine!
All repairs requires the service manual, but experience is also needed, testing the main functions of the deck showed that the main motor is working properly, the size of the disk cannot be selected, and the biggest problem was that the linear motor was not working when “start” was depressed, lead in sequence not performed. The lift motor was not operational though the display changed state when the lift button was depressed.
So we got busy!
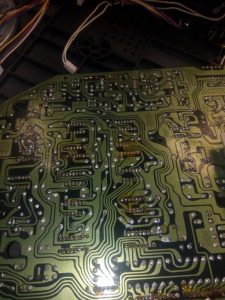
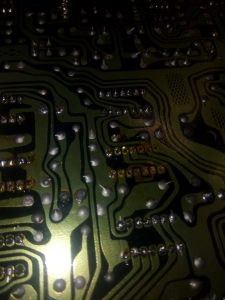
First step was to check the mainboard and power supply for cracked solder joints and I also checked the voltages delivered, everything looked very good for a 40 years old turntable, the boards were totally resoldered just to be sure we don’t have any kind of contact/soldering issues.
The circuit is double sided, removing the components can be very challenging as the mainboard is very sensitive to heat, it may be due to it’s age but for sure you have to be moderate with the soldering tools, you don’t want to damage it!
The mechanical parts were cleaned, checked and adjusted to a “ready for testing” state, somebody did a big mess before me, adjusting all that you can imagine, including all variable resistors. A nice point to start is to have a picture of a functional unit to see if the variable resistors are way out of range, these decks are “made in japan” products, having constant production quality, automatically all adjustments must be in the same range, that is one proven theory that comes from experience, it may look like a hit&miss procedure but any kind of information must be considered, remember that there’s little to nonexistent information on the internet about repairing these beautiful decks – Pioneer Linear Tracking series.
It is always a good idea to take pictures/make your own schematics of the original setup, even if you know it’s not good, sometimes the wires are directly soldered on boards and over the years they become brittle and can come apart when moving the boards out of the way for repairs, these are old sleeping monsters with a little bit of life left in them!
Unfortunately none of these steps helped in improving the actual state of the turntable but we managed to isolate the problem, it’s the logic control that we have to restore, that’s why this is one beautiful nice repair project, isn’t it!
The logic control is made using discrete c-mos components, good news is that a lot of the integrated circuits are still available on-line at very low prices, we won’t find the original Toshiba “signature” chips but any equivalent chip will do it’s job very well, bringing life back in this high-tech beauty of the late 70’s!
I decided to solve the “disc size” mystery button, as mentioned earlier in this post, pressing the size button must switch between 7” 10” 12” disc size and our deck did nothing, only 12” size option was on all the time.
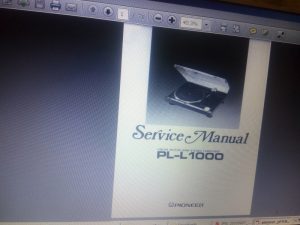
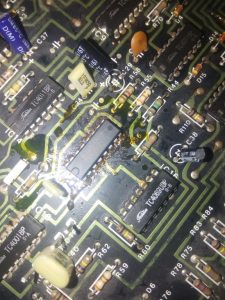
According to service manual, the disc size function is up to IC 15 wich is TC4027 (CD4027) which is a flip-flop circuit. For more information you can search the web, there are a lot of documents and applications for this C-MOS circuit. Keep in mind that these are ESD sensitive circuits, you have to pay attention when you work on them.
After replacing the IC we had a functional disc size display!
The repair process is based on test points, checking the voltages (given in the service manual) while testing the functions it is mandatory.
Further analysis lead to replacing IC10 & IC 8 (lead in FF stage) and after that the turntable was alive, the logic control worked perfect!
One more thing was necessary, cleaning the cue(lift) motor and replacing the belt, the main motor (SHR-stable hanging rotor) received some oil also:
Now the turntable is an old working beast, ready for a new audiophile experience.
Here is the cartridge for it(original cartridge was Pioneer PC600 but it was missing), a nice LOMC (moving coil) cartridge, Audio Technica AT312EP, a sweet setup:
Thanks for reading, more r&r projects will be available soon, stay tuned!
Marantz CD-65 r&r
This Marantz CD player is very similar to PHILIPS cd players from the same times. In fact Marantz used PHILIPS components, almost everything related to CD in the 80’s was made by PHILIPS.
As a plus Marantz added a digital output and a nice headphone stage with volume control, still keeping that fantastic classic look.
This unit uses CDM2/10 cd mechanism, I feel a little bad not having the mighty CDM1 wich is known as the best cd mechanism in the world.
It’s ok beacause CD-65 was released in mid 80’s so the “plastic era” was fully present.
Anyway it is a high quality product made in Belgium wich needed almost no service for 30 years.
Problems of the unit were: display flicker, random skipping, hard to make it work when first powered on, it needed 5 minutes of warm-up until I could listen to music.One day it decided not to read anything anymore so a repair was needed.
This cd player sounds so good that doesn’t deserve to die in my opinion.
First thing in mind was that the laser was almost dead but after a closer look, few replaced components, few hours of work, worked like in the first day.
First step was purchasing a service manual wich covers all schematics and the test mode settings.
Bringing the cd player in test mode showed that even the first step(focusing) couldn’t be performed, though laser beam was present.
I replaced all IC coupling capacitors. I was amazed how dead were the old caps, some had only 10% of their rated capacity.Age is age.
All boards were resoldered as much as it was possible after they were analysed.
After cleaning the lens, I recalibrated the laser power as it was a litlle off, this is a very good thing for the life of the laser.
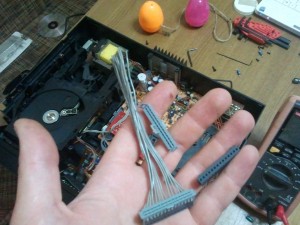
The old wiring had problems, not all connectors , I found only one connector with problems and I recrimped original wires.
main motor lubed, unit ready for tests:
I would like to thank to Condor Audio from Israel for his high performance mods and repairs on Magnavox unit wich helped a lot in my repair project.You may check his beautiful website at http://www.condoraudio.com
The cd player reads now the TOC(table of contents) of any cd very fast, searching is fast also.
Maybe in the future my cd player will receive some mods also: bypass the filters and muting circuits and OP amps replacement but i am happy for now using it the way it is.
Kenwood KD-727 r&r
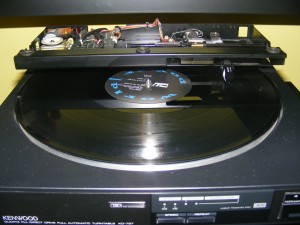
This turntable was born in mid 80’s. You can also see it under the name “TRIO”.
It comes from the beginning of the plastic era, the one we still live in. As you can imagine this is not a high performance turntable but is a quality product made in Japan.
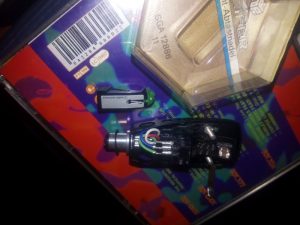
It uses a MC(moving coil) cartridge but since it came without it I installed a MM(moving magnet) AKAI-PC35 cartridge wich is a good cartridge.Now the turntable can be matched with a lot of audio amplifiers as most of them have PHONO stages dedicated to MM cartridges.
The big advantages this turntable offers are:
Low maintenance(direct drive), it is not at all sensitive to transport and can handle a lot of abuse, all this comes together with a decent sound.

Defects were:
-missing cartridge, installed akai PC-33 with RS-33 stylus
-old belt for arm transport, belt was replaced.
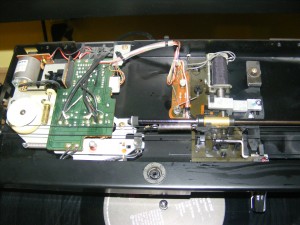
-worn arm transport rail rubber suspension, replaced with silicon ones.
-you could hear in the speakers when listening to music(slow passages) the servo mechanism coming in from time to time, this was solved by using a siliconic grease for arm transport.
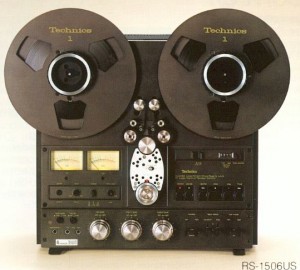
Technics RS1506US r&r
This is a nice project that somehow initiated this idea of starting ‘analogicsound.ro’ . The Technics RS1500 series is one of the latest produced by Technics back in late 70’s early 80’s.
We are talking about very high quality solid state products. What is so special about this reel2reel is the isolated loop tape path, a full direct-drive unit with very low wow&flutter.
The deck looks fantastic, sounds fantastic and is a ‘very nice to have it’ reel2reel. Every time you press play, it turns you back in time and for me it’s the best ‘time travelling’ machine.

Though these decks are famous for their high quality, they are aging like everything on earth. The deck was running but had problems with recording level, tape path adjustments, capacitor leakage and noise produced by dried out bearings.
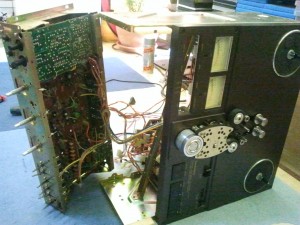
It was in need of a complete r&r job, a very time consuming job and this is how all has been performed.
First of all , we considered purchasing a service manual wich covered all drawings of the electronic boards and adjustment procedures(mechanical and electronic).
I decided to replace all capacitors with high quality components from Panasonic.We have a supplier for high quality components.

this is how the old capacitors looked like, notice the corroded terminals due to capacitor leakage:

here is the unopened box with all new capacitors :

more pictures with soldered components and boards:

We used the internet and forums for as much information as we could get about these Isoloops. I found something interesting about a nice upgrade on the line amp to reduce distortion and increase gain by a simple modification. I will post this here with many thanks to A.N.T. Audio from TapeHeads.com.
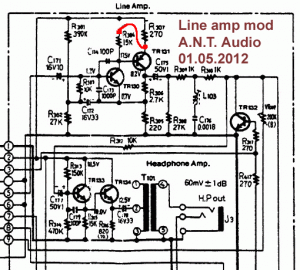
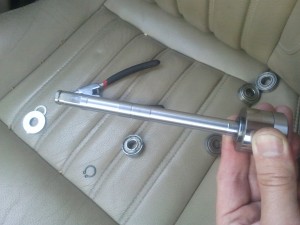
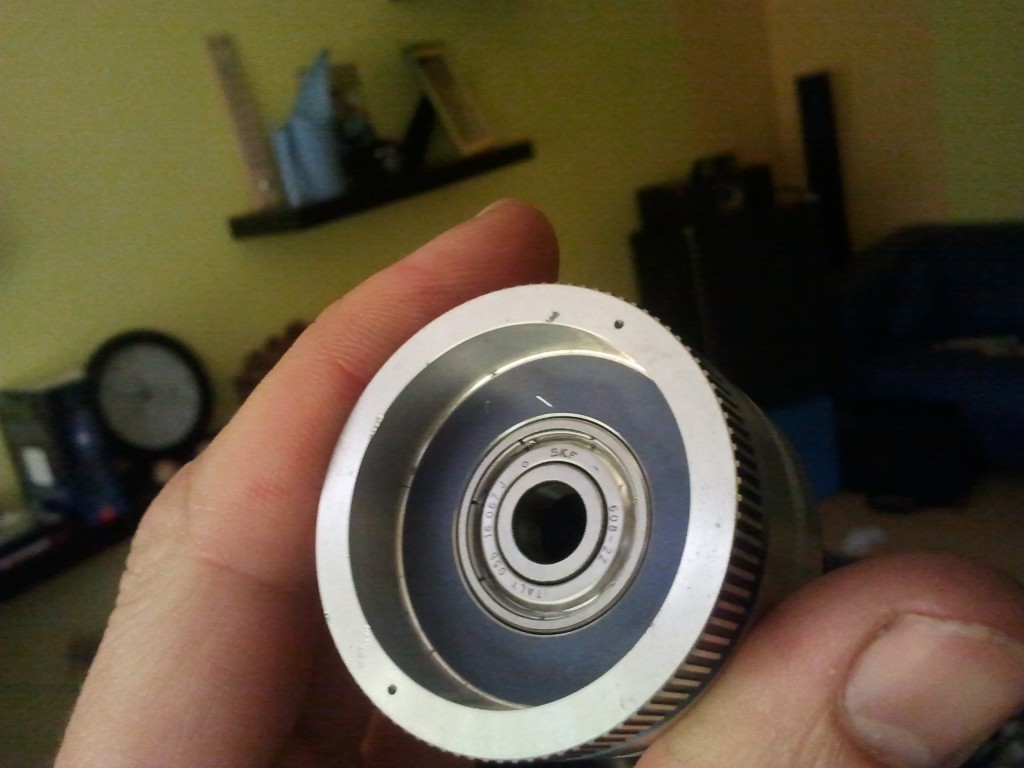
Here comes the mechanics:
we used high quality SKF bearings designed for high speed operation.
Finally we put everything back together and with the use of service manual and our ‘old school’ minilab managed to adjust the deck properly.
The final result is a reel2reel who will last for many years from now on and it will be a delight for listener’s ears.
There is nothing more relaxing than seeing this beauty at work, you can never stop looking at it.

Technics SB-7000 r&r

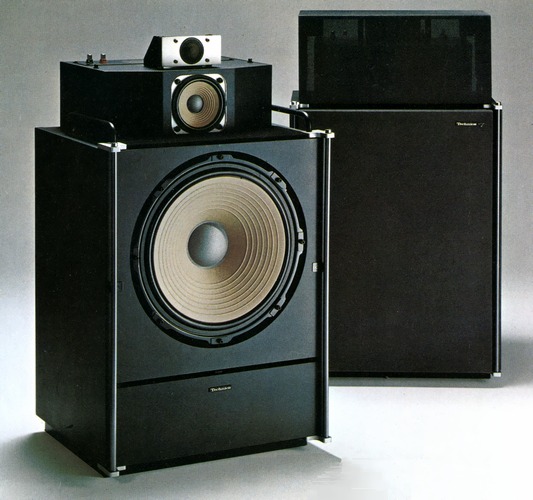
These speakers are my daily listening to music device. Designed in late 70’s, this is Technics’s statement in audio world. They sound absolutely natural.

Their main feature is Linear Phase filter wich is the key for the soundstage these speakers provide.
For more information about what is all about Linear Phase you can read this: http://www.google.com/patents/US4015089
Though they were puchased in mint condition, soon, after few days of listening, a problem appeared to me.
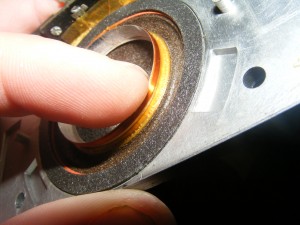
One of the tweeters had a problem , it didn’t sound as sharp and powerful as the other. At first i suspected the crossover but after various tests it seems the problem was in the tweeter itself . The coil partly detached from the membrane (age deffect).
The repair was performed with extreme care and now the unit sounds perfect to my ears.
final result:
Pioneer PL-L1000 r&r
This turntable is one of the vintage beauties born back in 1979. The unit is so special mainly beacuse of its advanced tangential tracking using a linear motor. It is a unique engineering design wich improves performance and looks impressive also.

The turntable is a direct-drive. It uses a high quality Stable Hanging Rotor wich runs smooth even after 30 years of service.

The unit is extremely sensitive to transport. I saw this unit for sale “for parts” in the north of Italy at a fair price.
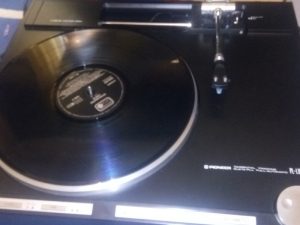
Here are some photos of the repairing process. This turntable sounds clear&powerful.
part 1 intervention :
At this point we performed this repair actions:
-cleaning&lubing the jog control shuttle
-cueing belt was repaced, cueing motor bracket rearranged
-cleaning, lubing and rearranging linear motor bearings, they were badly alligned mostly due to bad transport(this unit has its own transport procedure&kit when it comes from the factory)
-glue the dustcover
-fitting a new stylus
part 2 intervention:
After a few days of usage the unit showed some new defects wich were solved :
– the radiator for the motor driver had a poor thermal contact, radiator rearranged
-the speed lock/logic control components resoldered , some capacitors replaced so this solved the speed lock problem
-since I was there again, I lubed the main motor with Motip PTFE white grease, as it was bone dry.
According to service manual there is also a zero point adjustment but this turntable didn’t need that to be done.Once it is placed on level ground, works perfect.
Now it’s a fully working beauty!
Small update (april 2014)
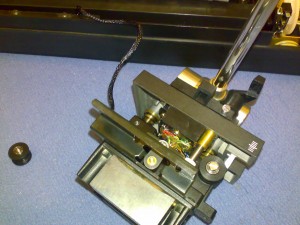
No new problems appeared but I noticed that one of the rails for the head had a little play, a plastic bush was gone so it was replaced with a “home made” one as you can see in the picture.
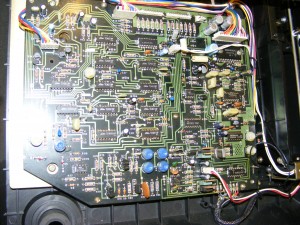
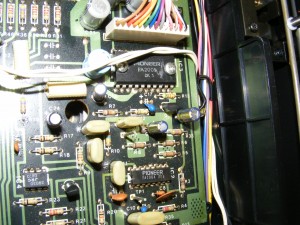
I will post more pictures with the mainboard and with the main motor driver:
LE:
A lot of (inexperienced) users talk(on forums) about vinyl and it’s analogic sound, after years of discussion they realize that the wow&flutter matters a lot! that is a smart conclusion for them!
Just look at these parameters on thevintageknob.org :
http://www.thevintageknob.org/pioneer-PL-L1000.html
Wow & Flutter : < 0,025% (WRMS) < 0,013% (WRMS, measured at FG output) ROTATIONAL Build-up time : within 90° at 33 1/3 rpm Speed deviation : < 0,002% Speed vs load : stable up to 220g drag load Speed drift : < 0,00008% per hour at 33 1/3rpm < 0,00003% per temp degree change at 33 1/3rpm. This is an impressive japanese work of art!
